5 Walking Foot Quilting Techniques That Anyone Can Do!
The walking foot is my go-to quilting tool. I love to see my quilts through from conception to quilting, but I don’t have a long arm machine or a quilting frame. I generally choose walking foot quilting over free motion or hand quilting because it’s a quick and controlled process. And, the walking foot dominates at straight lines, which are very compatible with geometric modern quilts. It’s also the best way to have a nice, even stitch length.
Most domestic sewing machines have a compatible walking foot included with the machine or available for purchase. A walking foot has a set of feed dogs that nests with the feed dogs from the machine. These extra feed dogs keep the entire quilt sandwich together as it moves to prevent the layers from shifting. If you are looking to purchase a walking foot, try finding one from your machine’s manufacturer to be sure it’s compatible. If it doesn’t come with a guide attachment, you should purchase that at the same time because it is immensely useful for most of the following techniques.
I’ve noticed there are a few walking foot designs I go to again and again, typically because they are easy and/or speedy (and do not require much marking). I also keep using these designs because they are versatile and capable of enhancing the piecing of nearly any modern quilt top. I’ve listed my five favorite walking foot techniques, and they’re simple enough that even beginner quilters can master them!

Channel Quilting
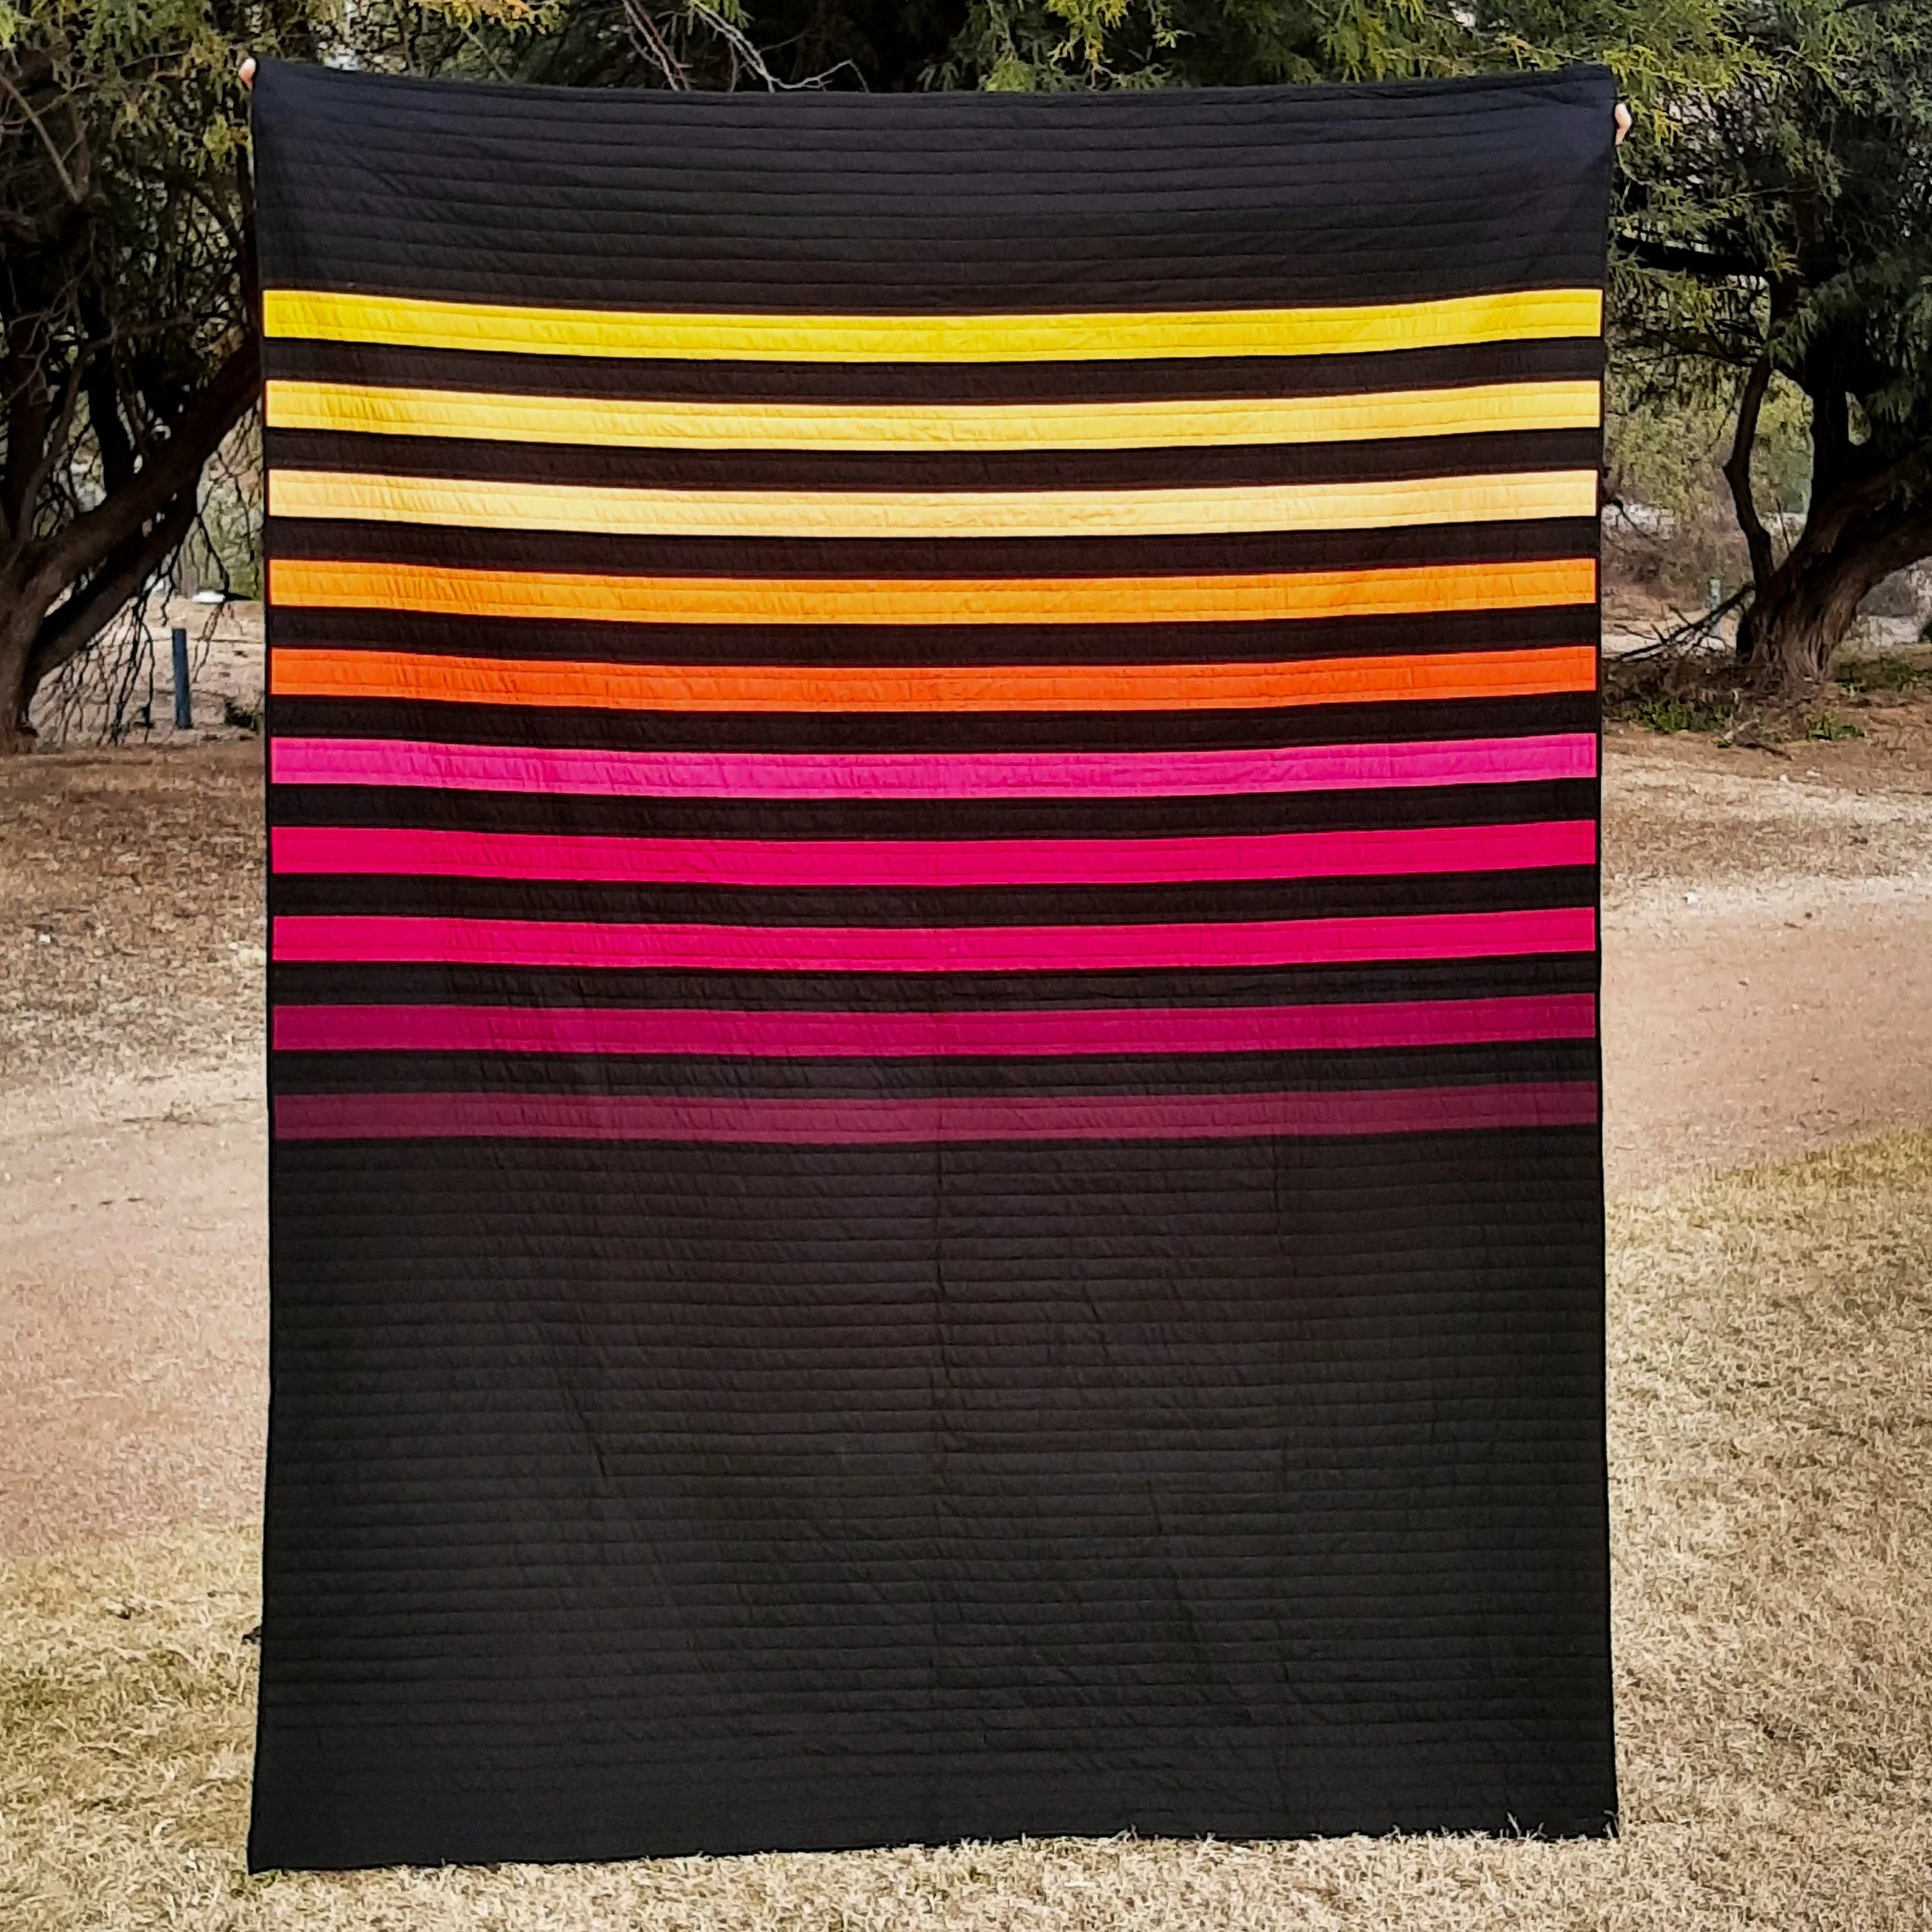
How can I talk about walking foot quilting without talking about channel quilting? It may be one of the simplest designs, but that doesn’t mean it’s a poor design. This quilting design can add length or direction to a quilt, like it did in the simple gradient stripe quilt shown below. It is a minimal quilting design that enhances the bold pieced stripes. It’s also one of the quickest designs, and a great choice for when you’re short on time, since it requires very little measuring and no thread tails to bury.
Start by using a seam in the quilt top as a guide or make one using a length of masking tape or a hera marker. Simply quilt across the whole quilt, backstitching at the edges (where the binding will cover the stitches anyway). Use a guide attachment for your walking foot for even spacing between lines.

Segmentation
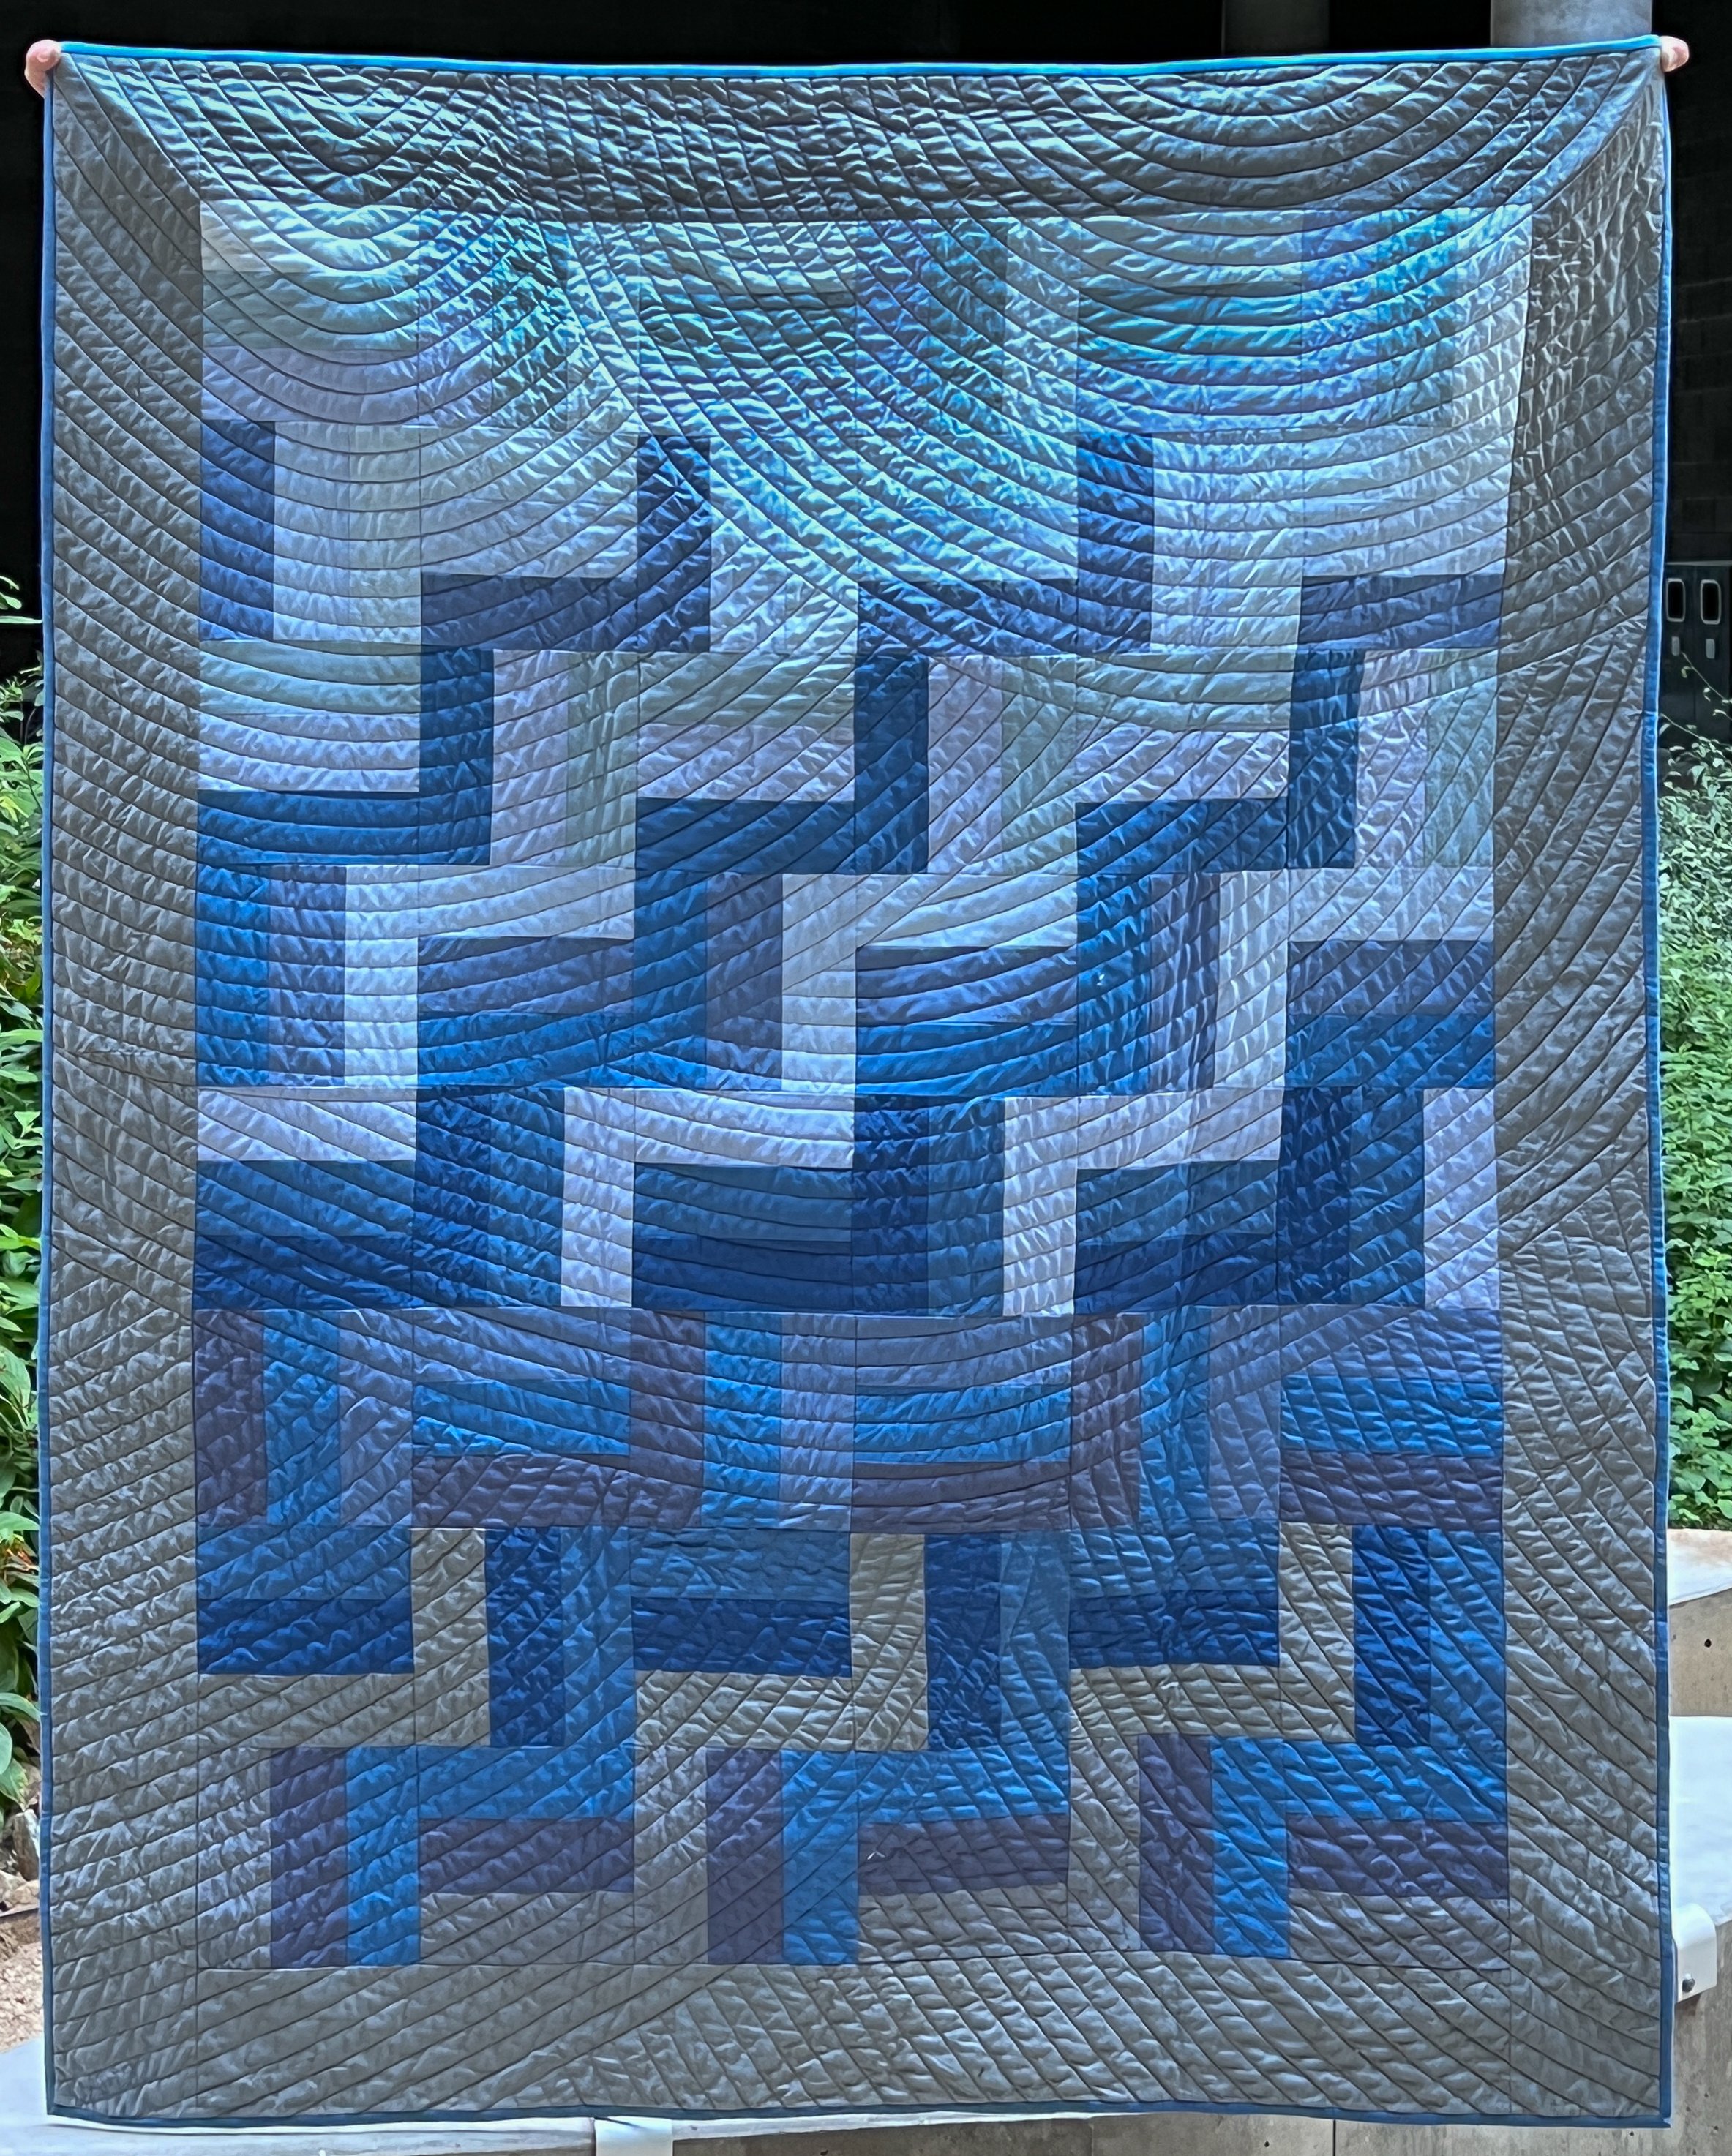
Instead of channel quilting across your whole quilt, vary the direction of the channel quilting across different segments. This is an easy way to make your quilting more interesting, or to contrast different segments of your quilt top. I used this technique for this Jeli Quilts Postcard from Sweden quilt shown below. The segments play off the angles created by the half square triangles. I also used gently curved segments for this rail fence quilt to mimic the look of looming clouds.
Start by dividing your quilt into segments using seams, tape, or marked guides. Stitch quilt lines along these guides to make the segments. Then channel quilt within each segment. When lines start or stop in the middle of the quilt, you will need to knot and bury the ends.


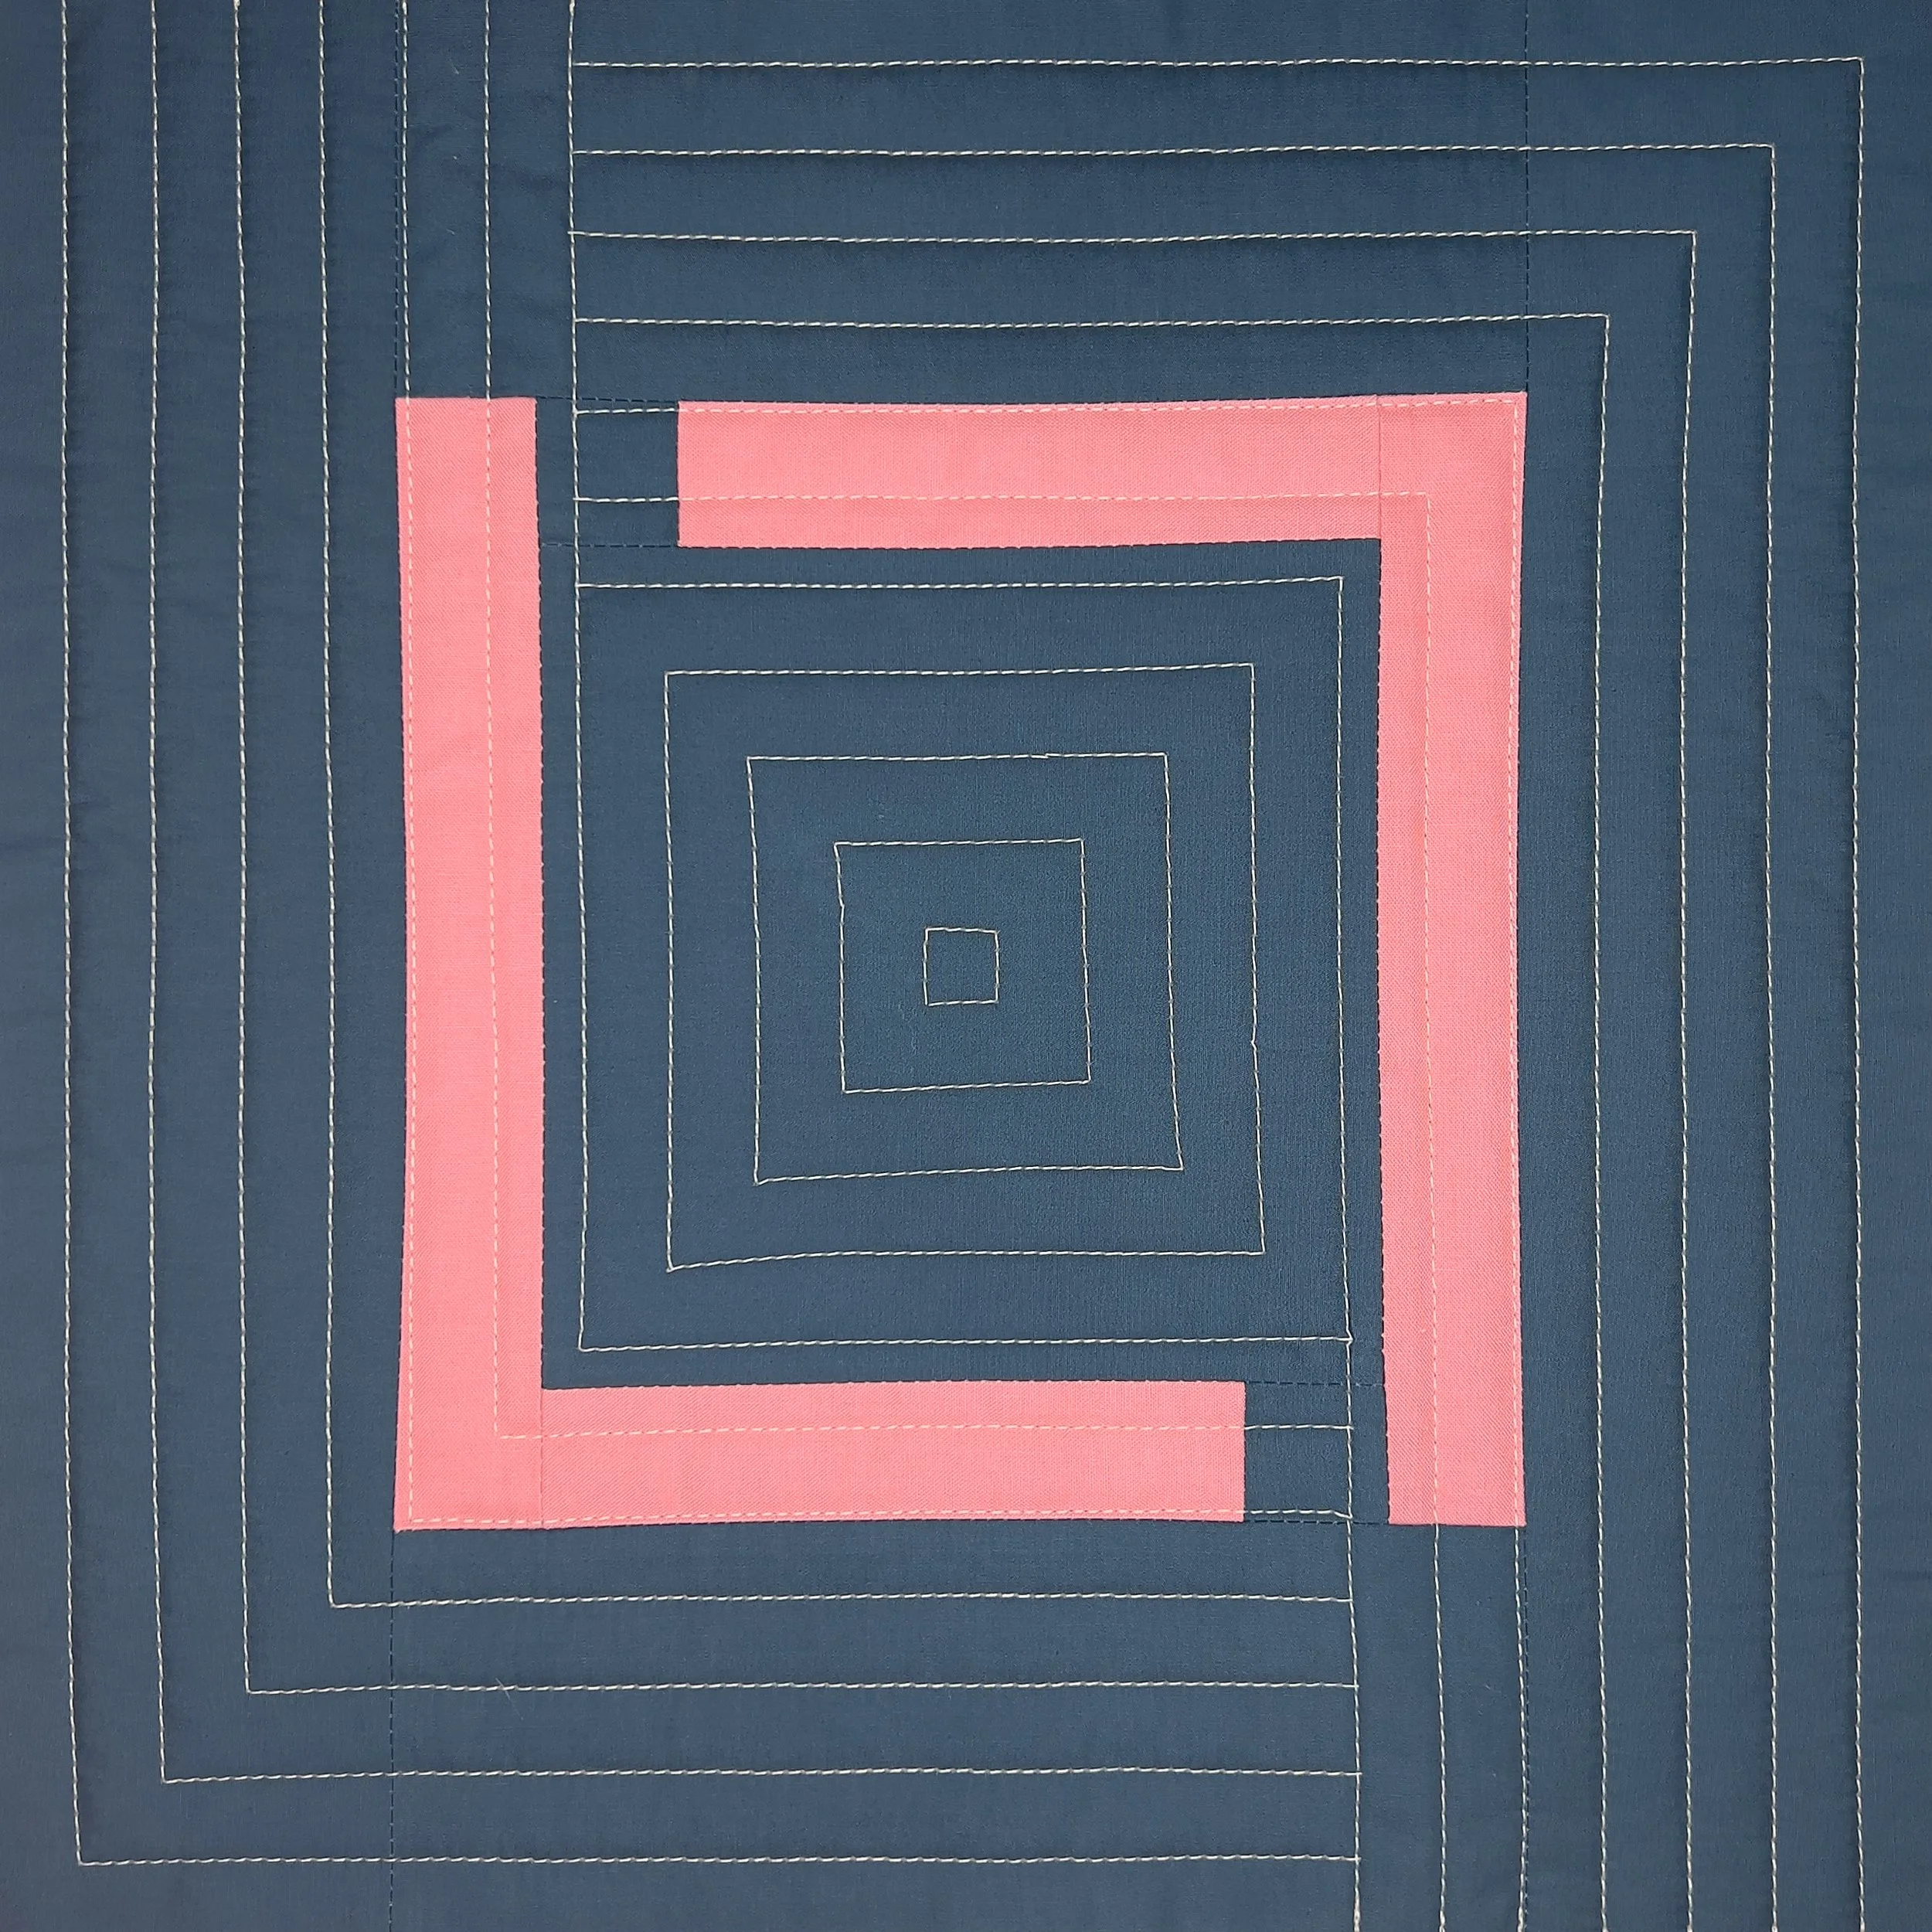
Center-Focus
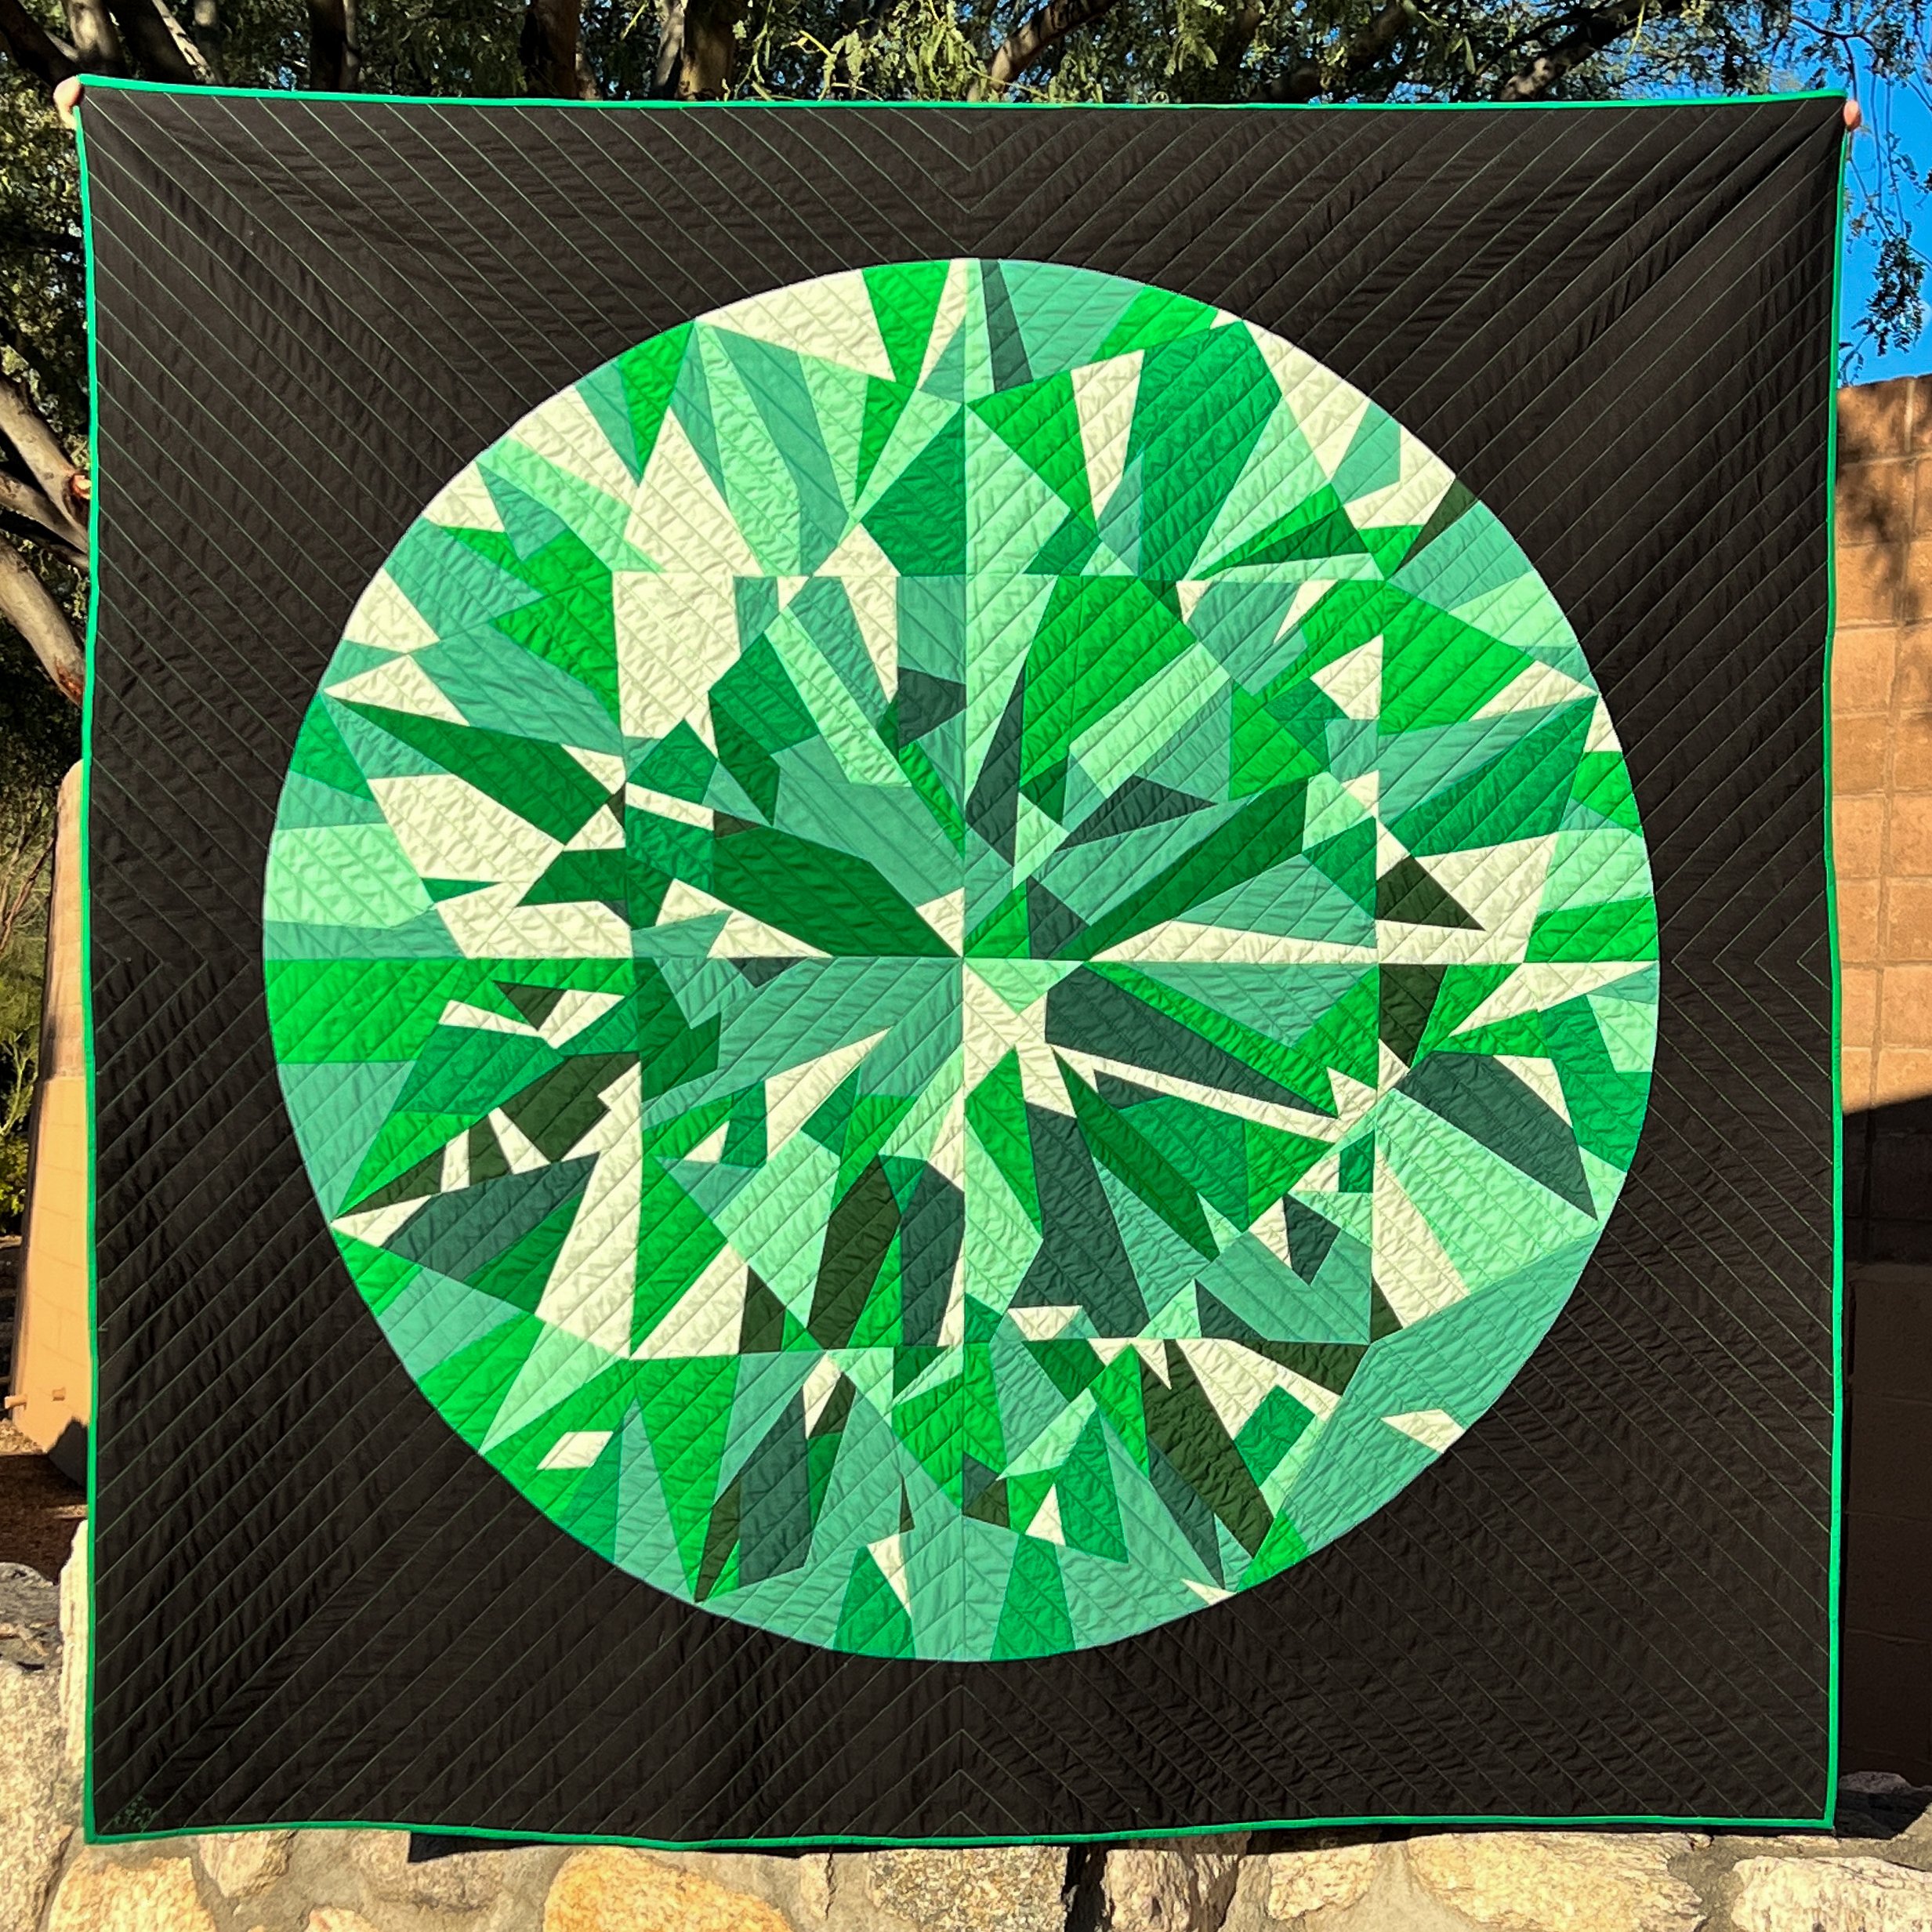
This technique works great for medallion quilts! It effectively draws the eye to the center of the quilt and emphasizes the symmetry of the medallion. There are no ends to bury with this design, so quilting can be done very quickly. I used a variation of this technique on this kaleidoscope block quilt. With the Catherine quilt, I used green thread to make it appear as if the gemstone was shining!
Use tape or marked guides to quilt diagonal lines from corner-to-corner in both directions. Quilting one segment at a time, use the guide attachment for your walking foot and quilt from the edge until you reach the vertical or horizontal line. With the needle down, pivot, and continue quilting until you reach the other edge. You can backstitch at the beginning and the ends where the binding will cover the stitches. It may help to mark the vertical and horizontal pivot lines.


Free Squiggles
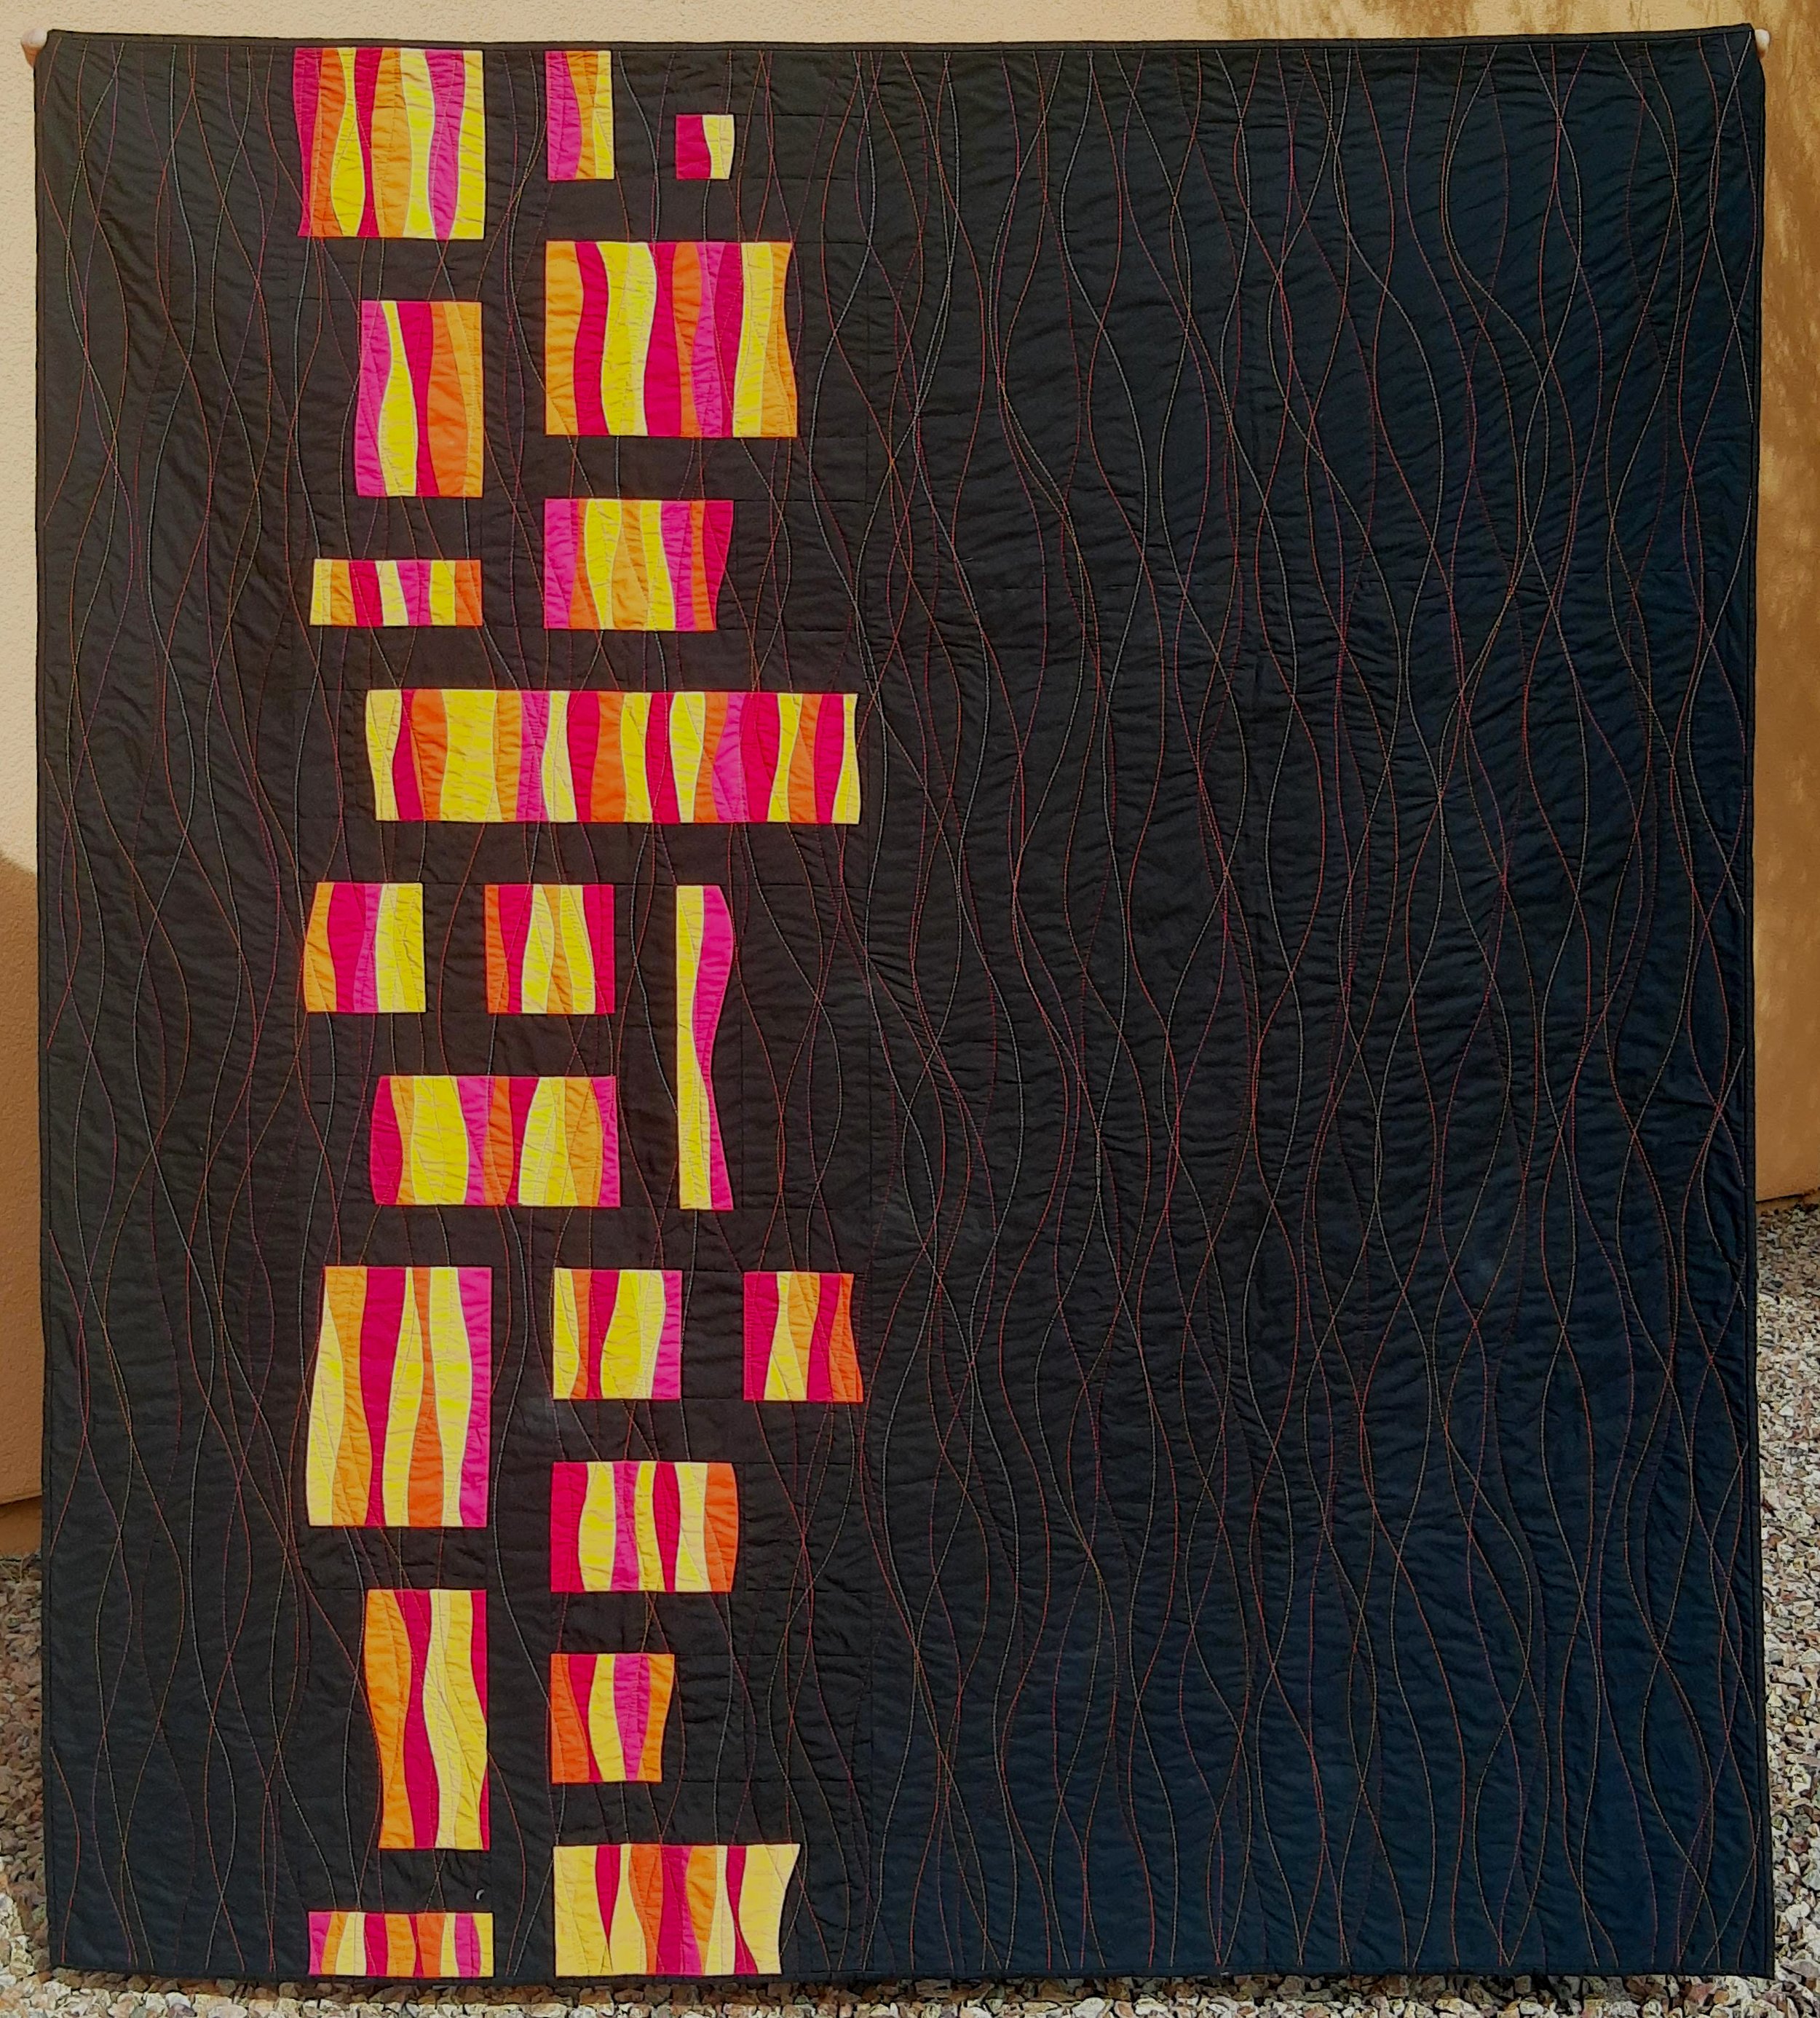
Not only does this technique look cool, it’s very fun to do! And it requires no measuring or burying ends, so it’s super quick. The technique adds a fun and flowy vibe to quilts. I used it on this strip quilt to add some curve to an otherwise blocky quilt. Quilting the squiggles in the same direction as the strips also emphasized the length. I used squiggles in various coordinating color threads on my Ember Dance quilt to mimic the improvisational piecing and the waterfall look of the quilt. It adds a little something interesting to the negative space.
As you’re quilting, slowly turn the quilt back and forth. As long as the curves are gentle, your walking foot will have no problem. In this case, quilt by feel; it will look freer and more natural. If you’re starting on the edge of the quilt, you can also backstitch to secure the quilting stitches.

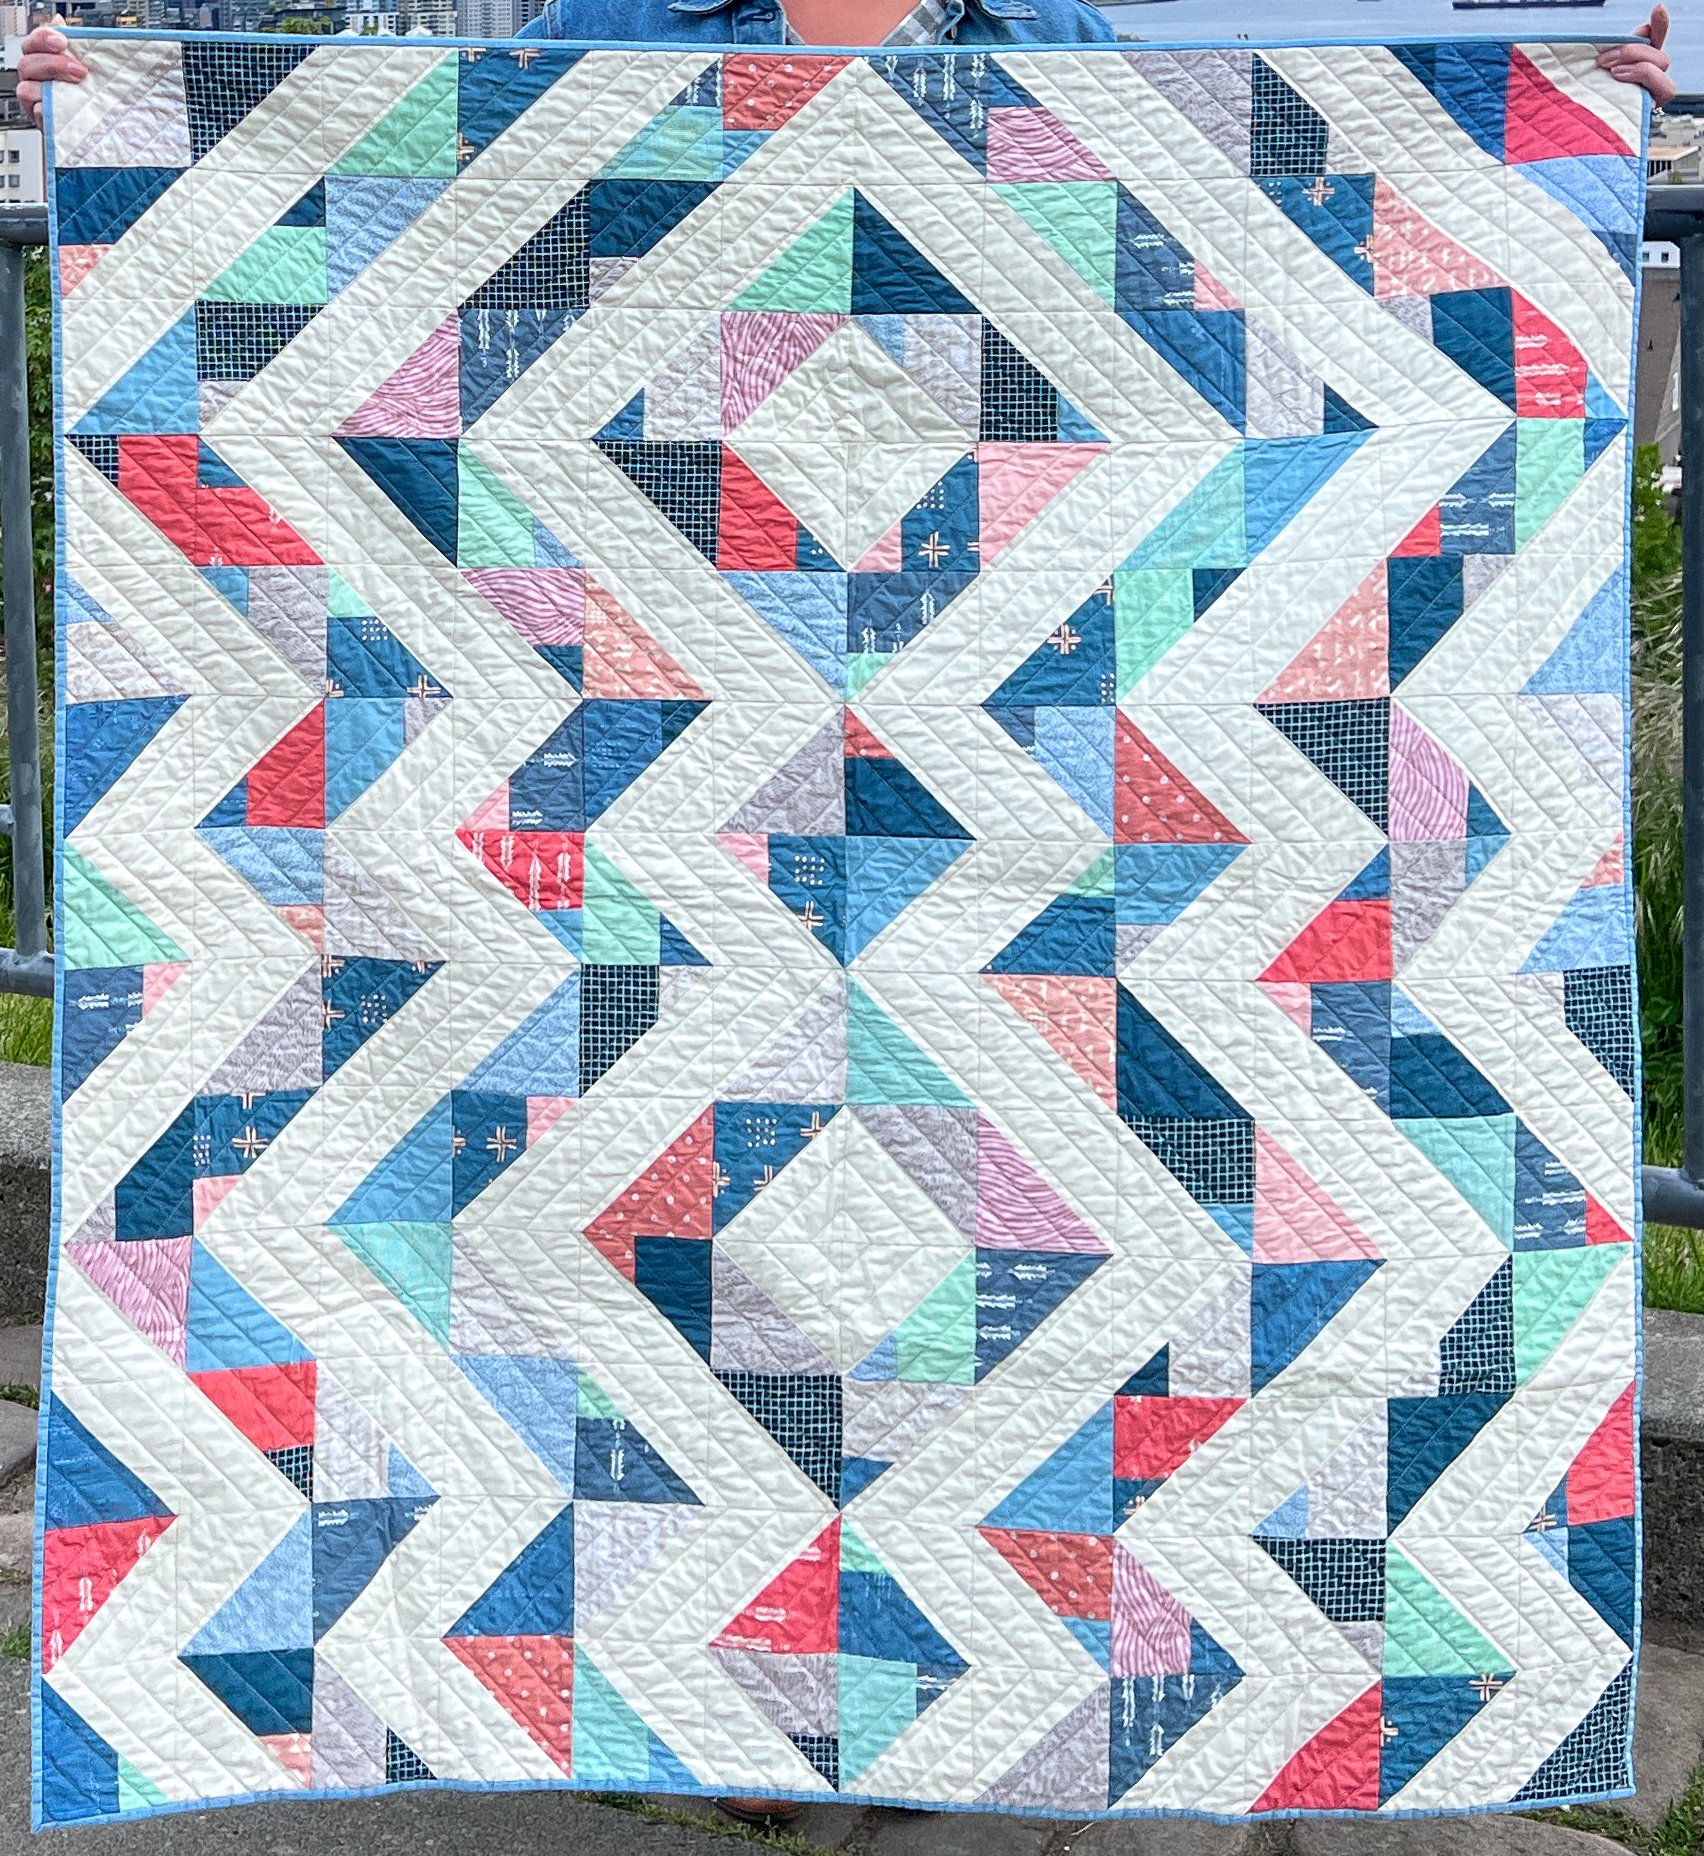
Echo the Piecing
If you have a great quilt top with amazing piecing, you can emphasize it by echoing the shapes. This technique can be done to enhance the piecing instead of detracting from it. Depending on your piecing, you may have a lot of knots to bury. I used this technique on this scrappy half square triangle quilt to make the design more cohesive. I used a zigzag quilting design to correspond with the changing directions of the flying geese blocks in this baby version of my Going Somewhere quilt (pattern releasing soon!).
Use the piecing as a guide and create a quilting line that echoes it. When you need to change directions, pivot with the needle down. Then, with your walking foot guide attachment, keep quilting outwards (or inwards) until the design is complete.

This is certainly not an exhaustive list of walking foot designs, but it’s a great place to start thinking about how quilting designs can enhance your modern quilt and add that extra something special to your projects. Once I was hooked, I found the Walk and Walk 2.0 books from Jacquie Gering super inspiring! There are so many sophisticated and striking designs in those books, as well as examples of beautiful quilts made using a walking foot. But I still often go back to these simpler designs because they are so versatile. I really like the walking foot because it’s an accessible way to quilt. With a domestic sewing machine and some time and patience, anyone can finish their own quilts beautifully.
