Friendship Star Quilted Notebook Cover Tutorial
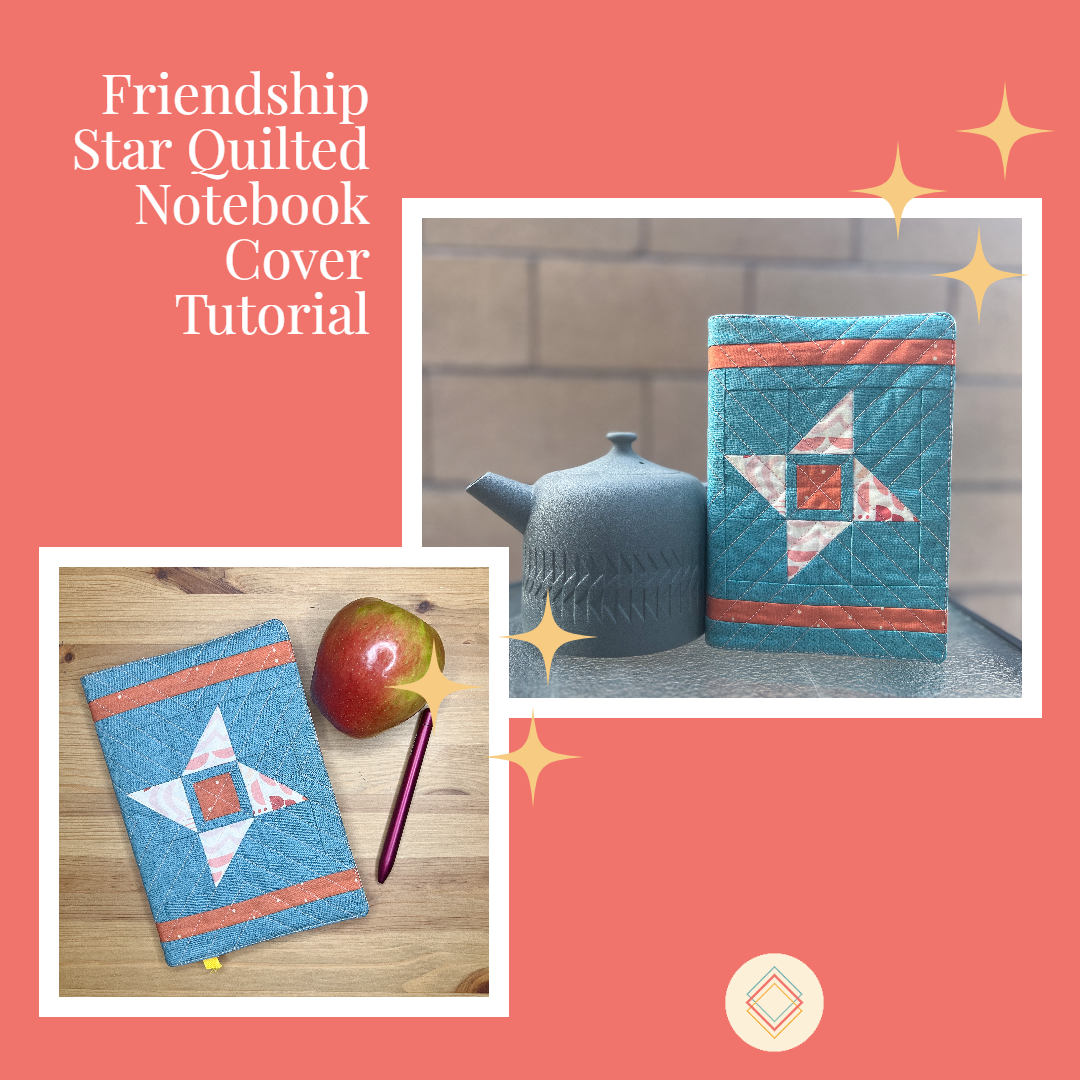
Hey Friends! Here’s a free tutorial to make a friendship star quilted notebook cover.
I know a lot of people in the quilting and crafting world appreciate good stationery and notebooks. I am no exception. I have notebooks to plan my day, plan my quilts, and just jot down random ideas. And isn’t it better when they’re customized and pretty? The following tutorial for a quilted notebook cover features a friendship star quilt block. I designed this cover because my friend asked me to teach her how to quilt, and I wanted a project that we could finish in a few hours but would also be useful to her. If you want to teach a friend to quilt, this is a great project to do so! Plus, it’s a scrap buster.
This tutorial is specifically for the Flagship size Confidant notebook from Baron Fig. These notebooks have hard covers and are designed to lay flat. The high-quality paper resists ink bleeding through the page. This is not a paid endorsement or anything, it’s just my favorite notebook! I like to stash a handful of them because they make great personalized gifts. After all, who wouldn’t appreciate another nice notebook? (In addition to making crafted covers for them, like the one from this tutorial, I can make designs with my Cricut, since the linen cover takes heat transfer vinyl very well.) The quilted cover comes together in just a couple of hours and so it makes a great last-minute, yet thoughtful and personalized gift.

Fabric & Cutting
There are two fabrics featured in the friendship star block (Fabric A and Fabric B), in addition to a Background Fabric, and a Lining Fabric. Fabrics A and B can make use of very small pieces of scraps, just make sure you can cut the required pieces. The Background Fabric can be cut from larger scraps or from a fat eighth using the provided diagram. The Lining requires a bit more fabric than a fat eighth, but it’s a great way to use up those awkward strips of excess backing fabric from larger quilts. If you don’t have scraps that large, the larger piece can be cut from one fat eighth and the two smaller pieces from a second fat eighth. You will also need a batting scrap that is at least 14" x 10".

Fabric A (star points)
a: 2 - 2 ⅜" squares
Fabric B (star center and stripes)
b: 1 - 1 ½" squares
c: 2 - 12 ½" x 1" rectangles
Background
d: 2 - 2 ⅜" squares
e: 2 - ¾" x 1 ½" rectangles
f: 2 - 2" x ¾" rectangles
g: 4 - 2" squares
h: 1 - 1 ¼" x 5" rectangle
i: 2 - 5 ¾" x 1" rectangles
j: 1 - 7 ¼" x 6" rectangle
k: 2 - 12 ½" x 1 ⁵⁄₁₆"* rectangles
Lining
Backing: 1 - 8 ⅝" x 12 ½" rectangle
Cover slots: 2 - 7" x 8 ⅝" rectangles
* If your ruler doesn’t have markings every ¹⁄₁₆", center by eye between 1 ¼" and 1 ⅜".

Cutting the Background from a fat eighth
Piecing
This quilt top comes together quickly, and we’re going to start with the fun part, the friendship star! I modified the traditional friendship star by adding some negative space to the center block. Use a scant ¼" seam unless otherwise stated.
1. Make the half square triangles: Grab one piece a and one piece d. On the back of the square of the lighter fabric, draw a diagonal line in one direction. Stack the two squares right sides together, with the marked line on top. Sew ¼" to the left and right of this line. Cut along the line and press the seam open. Trim to 2" squares. Repeat with the remaining pieces a and d so that you have 4 half square triangles.

2. Make the star center: To the left and right sides of piece b, sew each piece e. Press the seams open. Then, sew each piece f to the top and bottom. Press the seams open.

3. Assemble the friendship star: Lay out your half square triangles, star center, and pieces g as shown. Piece the horizontal rows. For the top and bottom rows, press the seams toward the background fabric. For the center row, press seams towards the star center. This pressing scheme will create nested seams when sewing the rows together. Sew the rows together, using the nested seams for alignment. Press the seams open.


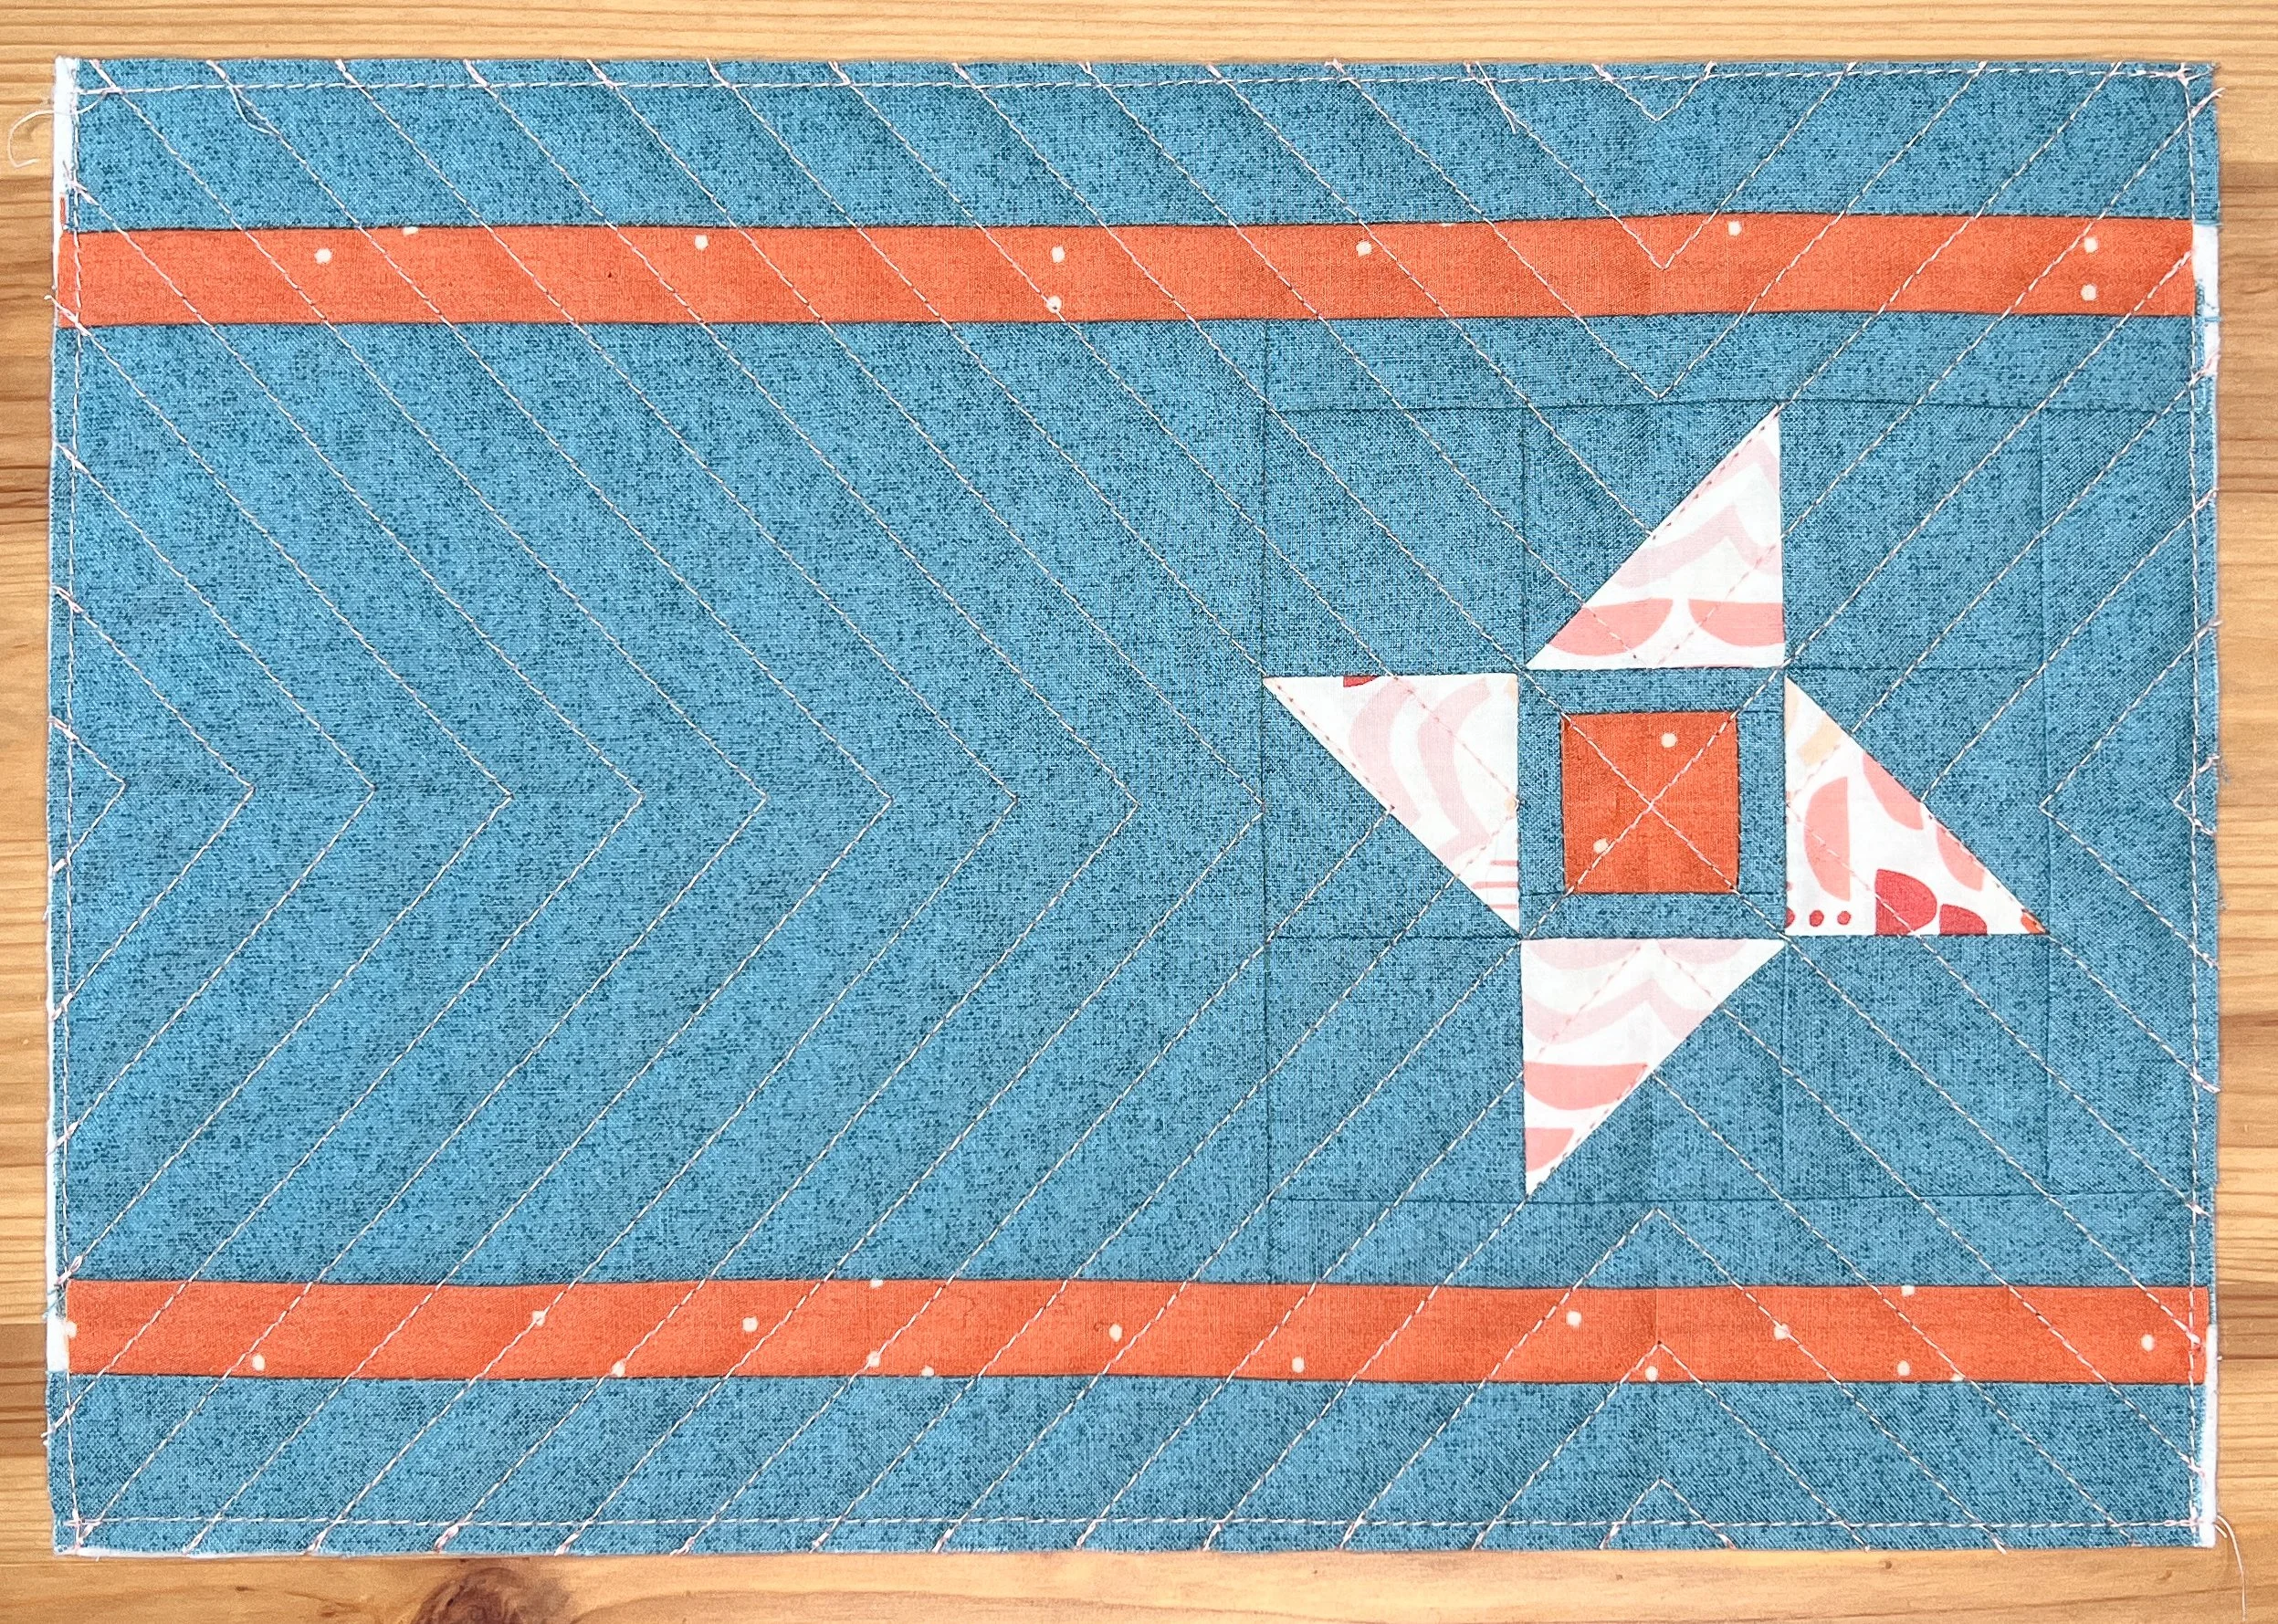
4. Finish the cover top: To the right of your star, sew piece h. Press the seam away from the star block. Then to the top and bottom, sew the pieces i. Press the seams away from the star block. Then, sew piece j to the left. Press the seam away from the star block. To the top and bottom, sew pieces c. Press as desired. Follow with pieces k.

Quilting & Finishing
5. Quilting: Center your quilt top on top of your batting (without backing) and baste as desired. Quilt as desired. Trim the excess batting to the edge of the quilt. Your quilt should be 12 ½" x 8 ⅝".
6. Adding the cover slots: Fold each cover slot piece in half with wrong sides together so that they are 3 ½" x 8 ⅝". Press.

Place the cover slots on the left and right of your quilt with folds to the center and raw edges aligned to the quilt edges. Sew about ⅛" inside the left and right edges to secure the flaps.

7. Adding the backing: We’re going to add a small curve to each corner of notebook cover to match the curves of the notebook. On the back of your backing fabric, mark a scant ¼" seam allowance on each edge near the corners. Nestle an American dime (or a similarly sized circle) in that marked seam allowance and trace for each corner. This will give a rounded corner.

Place the backing on top of the quilt with right sides together. The cover flaps should be sandwiched in the middle. Sew along the outside with a scant ¼" seam allowance, following your marked curves in the corner. Leave a 3" gap in the middle of the bottom edge for turning out.

8. Finishing: Trim the seam allowance near the corners to reduce bulk.

Turn out the notebook cover and press along the edges so they are flat, even and straight. Be sure the raw edges where the gap is are turned and pressed nicely.


Topstitch as close as possible around the edges. Finally, insert the cover of your notebook into the cover flaps. You may have to slightly bend the spine of your notebook to do so.


Congratulations, you’ve made a quilted notebook cover! Keep it for yourself or gift it to a friend. After all, it is a friendship star block. Then, use this tutorial to give your friends the best gift and teach them how to quilt.

Share your notebook covers with me on social media using #SweetPixelQuilts. Happy quilting, friends!
